Monday, January 31, 2011

See What My Creative Kids Made!

creative kids lego pool

My kids are so creative and I LOVE that about them!  Every day they are up to some creative mischief!  Yesterday it was a movie they filmed, starring our cat.  I am always amazed by what they do and thought I’d share their latest Lego creations with you.


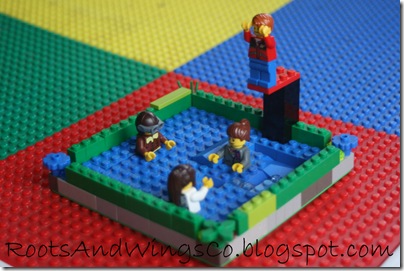
They decided to have a Lego building competition.  My girls created, and my Son was the judge.  I don’t have a clue what the parameters were.  But I love the results.  My younger daughter made the above creation.  It is a swimming pool.  Notice the diving board, ripples around the woman that just jumped into the pool, the swimmer with the goggles, and that you only see half of the people because the other half is under water!  How creative!

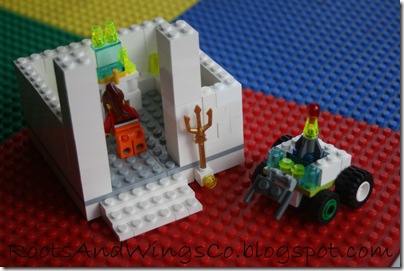
creative kids lego a

This one is interesting.  It is an altar for the minifigures to worship my daughter.  You would have to know my daughter to understand this.  She is not so full of herself, nor does she believe in worshipping idols and stuff.  However, she is a big time reader and has been reading about stuff like this.  She is also just fun and can laugh at herself.  She thought this was funny.  The creation on wheels is a mobile place to worship!  I find it quite funny.


Make sure to be checking back as I have some really fun new Valentine’s posts starting tomorrow!


Rebecca


ps  I’m a bit nervous about how some people might react to this post.  I sure do not want to offend anybody and hope my daughter’s place of worship is not offensive to anyone.  I know the thoughts that went into it and the intent was not malicious nor sacrilegious!

Friday, January 28, 2011

I Love This!!

image

I just LOVE seeing people get inspiration from my ideas, and For The Love of Boys did this with a one day turn-around!  Seriously, that is fantastic!!   You just have to head over there and see her version, plus check out the rest of her cute blog! 


For The Love Of Boys was so quick to make her own version of my kids’ cardboard castle!  Isn’t her version so cute!?  These castles are perfect for those that just moved like she did (so they have the extra boxes) and with a room with nothing else in it! 


This is one reason I so love the bloggy world!  I get so many ideas from other people.  People put sooo much information out there to help each other out in every way! 

Loves to you all!

Rebecca

Thursday, January 27, 2011

Cardboard Box Castle

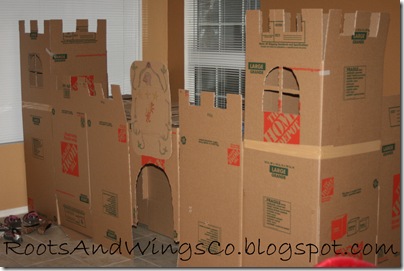
cardboard box castle

Sometimes the simplest things in life are the best!


Have extra moving boxes?  Make yourself a castle!  This one has two turrets, a family crest over the door (made by my oldest daughter), separate rooms with secret entrances, and only took tape and boxes to make!  Okay, and an exacto knife and some markers for the family crest. Winking smile


I guess I have playrooms on my mind! 


Rebecca


PS Don’t forget to enter to win a $100 Visa Gift Card from Jimmy Dean by commenting on this blog post on my review blog!  This giveaway ends 1/30!

Tuesday, January 25, 2011

A Smorgasboard of Valentine’s Fun! With tutorials for all of it!

image

Nana’s Valentine Suckers are my very favorite thing about Valentine’s Day!  It just isn’t Valentine’s  with out these!  My Mother always made these for us and our classes every year.  Now we try to get together with her when she makes them.  I think putting the conversation heart in them is just brilliant!  Go check out how to make Nana’s Valentine Suckers!  I have a whole tutorial for ya!

image

OK, now how about some Super Easy Paper Hearts to make?  These are so pretty, but seriously easy-peasy!  And yup, a have a tutorial for you!

image

I’m giving you extra time to think about making Valentine’s Pillowcases.  On the first day of the month I put on new Pillowcases for the family.  It is so much fun to have themed ones!  If you guessed there is a tutorial to go along with this one, you are right!

image

Are you needing another easy craft?  Try these Heart Boxes!  They are perfect for little treats and are made out of paper towel or toilet paper tubes!  I always love an excuse to break into my paper stash!  Agh, I know, another tutorial just for you!

image

These Handprint Hearts still melt my heart!  I always make sure to label them so I know whose handprint it was, how old they were, and what year it was!  Pretty self explanatory, but I still show you how I did this.

image

Now let’s talk Heart Felt Pencil Toppers for class Valentines!  For those of you wanting to send your child with something different for the class, these are adorable.  I love felt!  I also have an embroidery machine so I embroidered each child’s initial on theirs.  When I made these I also embroidered the name of the school onto the back side!  I still LOVE these!  Oh yeah, another tutorial!


I hope these gave you some inspiration of fun things to make for Valentine’s!!  Don’t forget to check out my sidebars for LOTS more Valentine’s Day ideas!!


Rebecca

Friday, January 21, 2011

Playroom Makeover-One weekend, under $100!!

playroom q
I love this room now!  Even better is that my children love it!  I can’t believe what was accomplished with so little time and money.  Seriously, under $100 and just a weekend project!  The bonus is that it was a whole family affair even!
playroom a
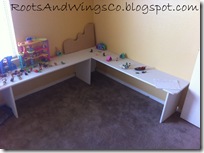
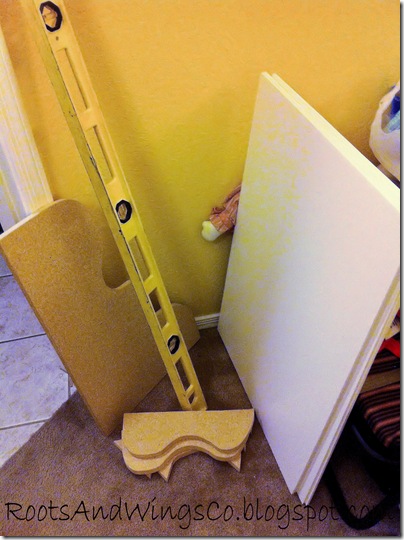
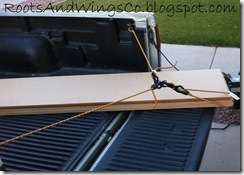
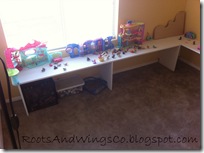
We bought three-12 foot shelves that were 16 inches deep, for more play area.  Two of the shelves were for the top of it and the third one we cut up to support it.
playroom bplayroom c
We built this in an L shape into the corner of the room.    We also notched the back of the support pieces on the bottom , to allow room for the floor board.  It was all anchored together and to the wall with small L shape brackets.  Then, it was primed white.  We figured out our own measurements for the height of this based on the average kneeling child would need this to be at about 18 inches.  Plus, this adds spectacular storage room underneath!  And we all know that storage room and kids playrooms go hand in hand.
playroom dplayroom e
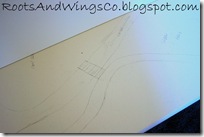
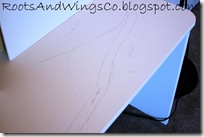
We sketched out the layout for the parts of the village, along the whole top.
playroom gplayroom h
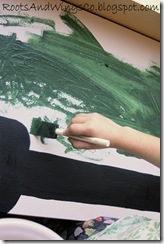
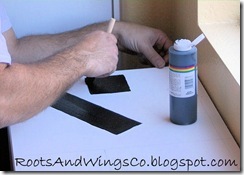
Base painting:  This step was perfect for everyone to be a part of.  Everyone helped to paint in the base layers such as airport landing strip, helicopter landing pad, and grass areas. playroom j
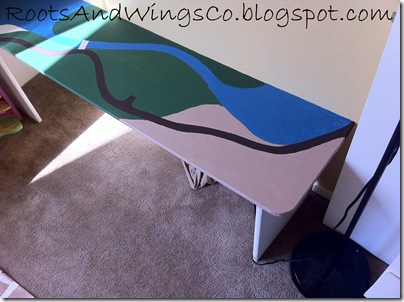
We all helped to paint all other base areas like streets and parking lots, beaches, pathways, desert area, and water areas. 
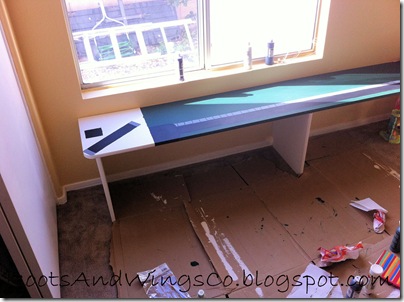
playroom i
Next we started adding basic details on top such as the lines in the sidewalk and ends of the airstrip.  Take notice of the cardboard boxes we unfolded to cover (and save) the carpet.  It worked perfectly and gave us a space to paint the extras like shelves and foam core board.
playroom k
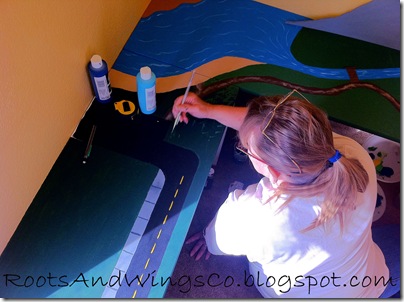
It is also helpful when doing this project to have one or two of these:  artistic Grandparents!  Grandma followed after our base painting with lots of fantastic detailed painting.  Notice the strips on the road, and dimension to the grass areas, water, walkways, etc.  The details are what really made this room amazing.  Thanks for all your hard work Bonka and Grandma!!
playroom l
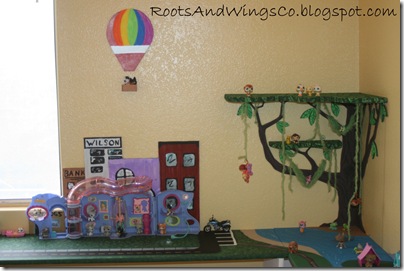
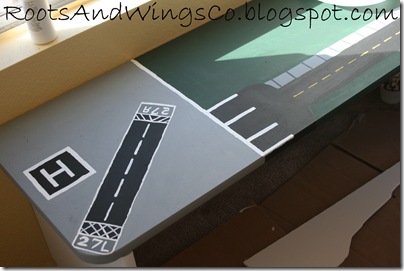
I love how the airport turned out!  This village is to go with any of the play sets that my children have.  Our two favorite play sets are Bobbleheads and Legos.  This airport was a must have for the Legos!!
playroom p
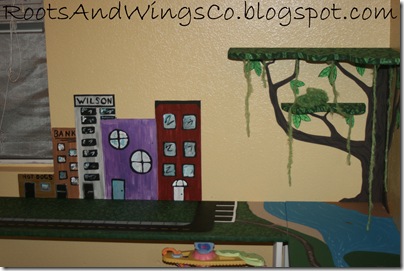
Then we started adding in all of the extra parts like the cityscape.  That was made out of one piece of foam core board.  All hand draw, cute out, and painted.  I love it!
playroom r
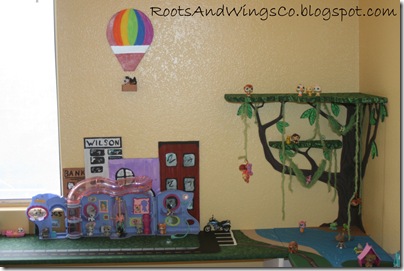
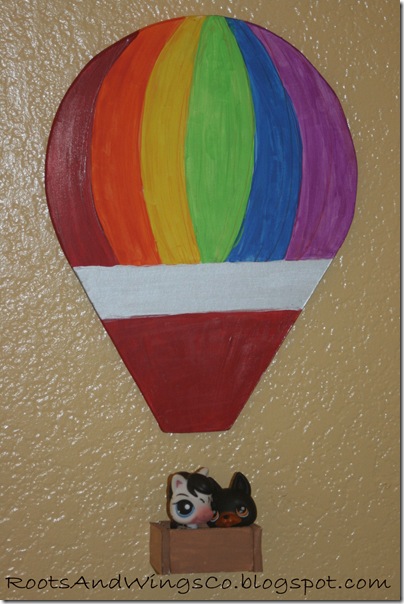
Grandma also came up with this super adorable hot air balloon.  I love how interactive the decorative parts are!  Little toys can even be in the basket of the hot air balloon!
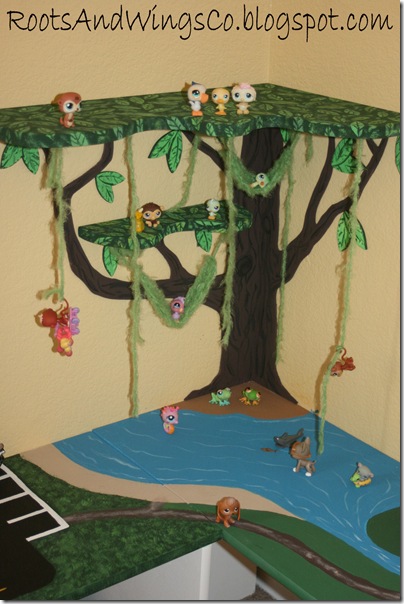
playroom tree w
Of course the tree is my favorite.  Check out how we made it here
playroom q
Now do you see it all coming together?!
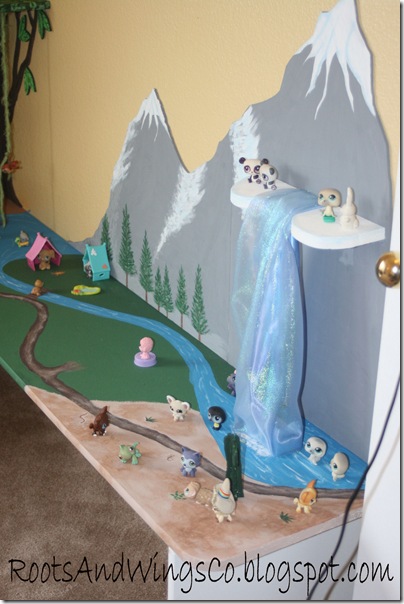
mountain j
We added this polar mountain with waterfall!  You can see how we made it here.
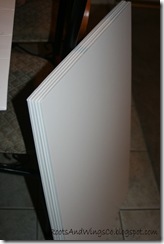
playroom splayroom t
Here is how we made all the foam core decorations!  That picture on the left is 4 sheets of 1/4 inch foam core.  We got them for $1 at Joann's.  You can also get 1/2 inch and I think we’ll be using some of that for the extra dimension! 
To start we draw our design onto the foam core.
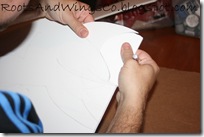
playroom uplayroom v
Then, we use an exacto knife to cut out the shapes. 
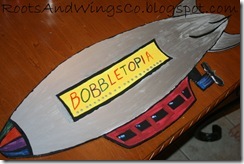
playroom wplayroom x
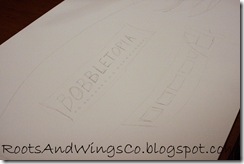
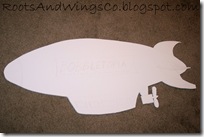
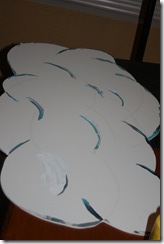
Paint right onto the foam core.  It takes the paint wonderfully!  We thought our room needed a blimp and some extra clouds!  Don’t forget to paint the sides of the foam core!
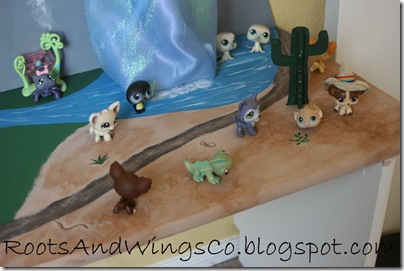
playroom y
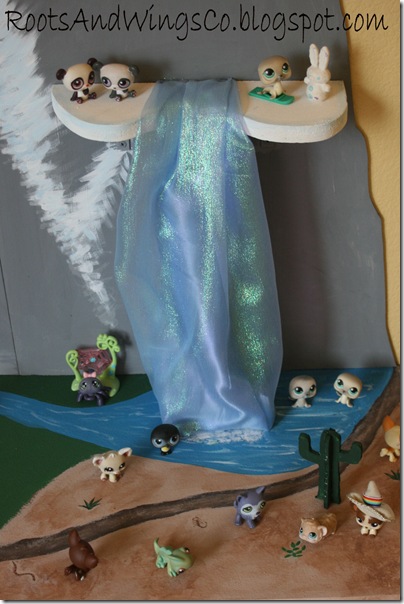
Here is our desert area.  The cactus was made out of the foam core, too!  Notice on the dessert that there are some really fun extra details of a snake, cactus, scorpion, and other desert plants.  My daughter likes her Chihuahuas and lizards here!
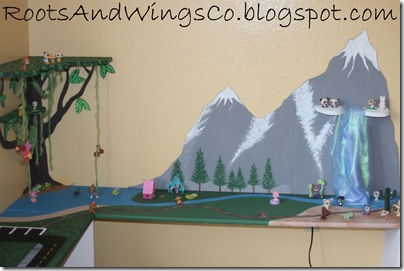
playroom z
Final view of the polar mountain, waterfall, desert, camping area, walkways, lakes, river, bridge, beach, and tropical tree.  All of my camping area pictures were blurry.  However, there are some really cute details painted like a fire.  My kids have fun camping play sets that include tents, and even smores that go so well in this area!
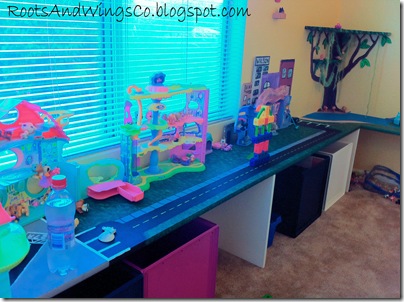
photoo
This area was made specifically for fun and organization.  We chose the height based on the heights of my children.  They can play at it kneeling, sitting, or standing.  The above picture shows the buckets we picked up to keep the toys all organized and put away!  I love though, that my kids can get things all set up to play and then leave it out if they run out of time, to return to it the next day!  This play area looks super cute even in mid play.
playroom zzz
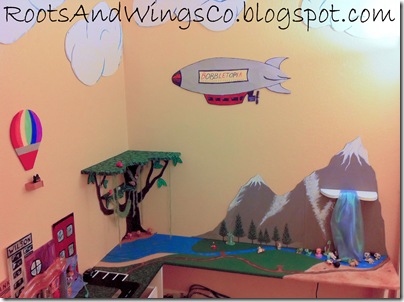
Final picture that includes the extra clouds and blimp!  They really help to make the whole area look themed out with no bare spots on the walls! 

Now, can you believe what you can do in a weekend and for under $100?

Rebecca

PS I can’t claim to be the mastermind behind this, just one of the minds helping with brainstorming and a pair of extra hands!  My kids’ Dad was the mastermind behind all of this!  Thanks so much C!  Great idea, and as you know, the kids love it. 

PSS Don’t be surprised if even your kids stuffed animals start finding their way into this playland…or if you can’t help yourself and play with it too! Winking smile


I'm joining in the fun at the following parties:  Skip To My Lou, Whatever Goes Wednesday, Get Your Craft On,

Thursday, January 20, 2011

Playroom Makeover-Polar Mountain and Waterfall

mountain h

My kids’ new playroom has so many fun parts to it!  This is how we made the polar mountain with the waterfall

mountain a

We free handed the two mountain shapes out of the foam core board you see on the right side of that picture.  By “we” I mean, my Father-In-Law! Winking smile 

We also free handed a shape for a shelf that is to be a higher ledge on the mountain, that the waterfall will come from.  The shelf was cut out of wood, not foam core.  And again, by “we” I mean my children’s Father! hee hee. 

mountain bmountain c

We (this time we is my oldest daughter) painted the shelf white and then added some blue-ish-grey details along the edge of the mountain ledge shelf.  Then, we added brackets to the shelf.

mountain dmountain e

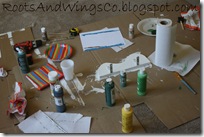
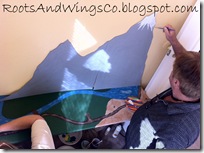
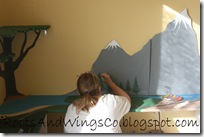
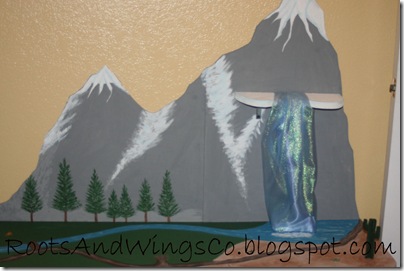
My Father in Law painted the whole mountain a grey color and then added white snowcaps.  My Mother In Law then painted some pine trees, and more details to the mountains. 

mountain f

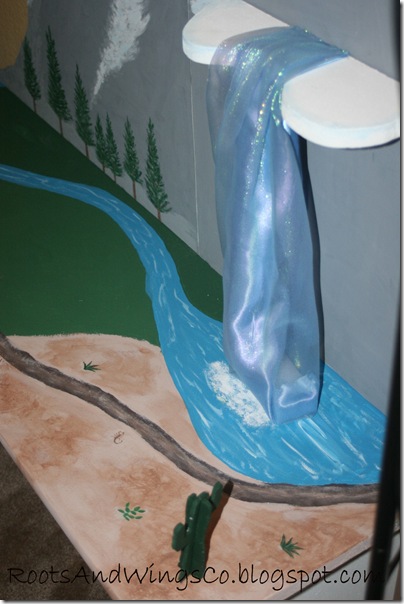
We took some material that we thought looked like water and just hot glued it to the back of the shelf.  At the bottom of the material we puddled it a bit and then hot glued it to a wooden block.  This makes the waterfall somewhat moveable for the kids when they play it.  Animals can even hide behind the waterfall, or chase around it!

mountain g

Notice the fun awesome foam splash detail where the waterfall hits the lake.  My Mother In Law added this once we knew where the water fall would reach the little lake.  It’s totally these details that make this makeover so spectacular!

mountain i

We had animals move in immediately!  My kids could barely wait for the paint to dry before they started setting the scene up!

mountain j

Here’s a larger picture of the whole play setting.  Isn’t it too cute?!  I love how it all turned out.  This also has given you views of the dessert and camping areas.  I just love all the different areas.  Check back tomorrow for the full wrap up of the whole project, to include how we made the structure itself and lots of other fun extra details!

As I said earlier in the week on this makeover, one of my favorite parts of it is how much everyone helped on it.  Now we all have memories of the fun weekend we spent making this.  And as my children play with it, it will remind them of all the people that helped with it.  My kids are also even more proud of it because they helped with it.  In my book, that is what you call a win-win!!


Rebecca

PS Thank you to Bonka (my kids’ Grandpa), Grandma, and C for all the hard work on this!  As you know, the kids LOVE it!!